In hindsight, I would have done this one different. But here’s the story:
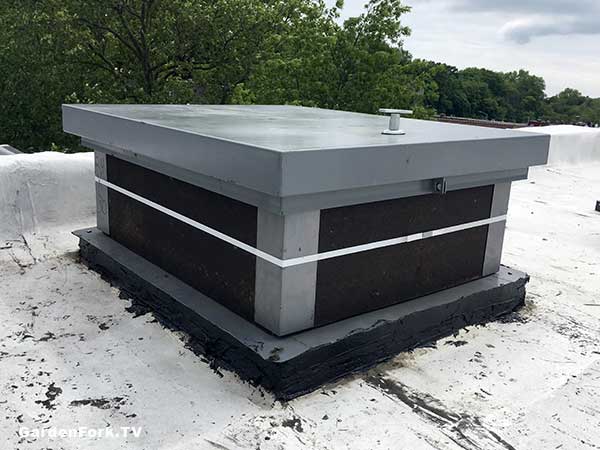
One of my best friends needed to replace the roof hatch on his row house in Brooklyn. This also happens to be the roof where we keep our honeybees. Replacing the roof hatch is pretty straightforward, go buy a new steel one, get it up on the roof, screw and glue it on. Done.
Except the roof hatch would not fit up through the existing access hole in the roof. It now occurs to me we could have cut open the hatchway, roll back the rubber roofing, get the hatch up there, then lay back down the roofing and patch it up.
That would have been easier than what we did instead. But ropes, pulley, carabiners, and assorted gear is fun to work with.
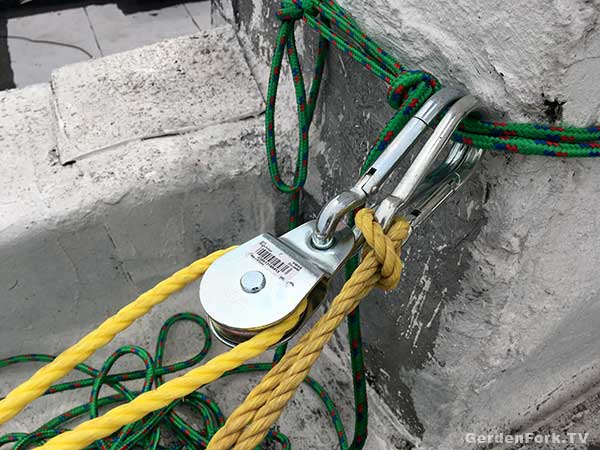
We brought the new hatch into the backyard, and figured it would be a straight hoist up. We used a double pulley rig. That way the weight of the load would be much easier to hoist up. To rig this, the rope is secured one of the roof chimneys, the rope then goes down to the roof hatch, where its threaded though another pulley. The rope then goes back up to the roof, through a second pulley, then dropped back down to the ground.

Pulling on this rope, with the two pulleys connected, makes it much easier to hoist heavy loads.
My friend secured the roof hatch with ratchet straps, and connected the pulley and hoist rope. I then pulled the hatch all the way up the back of the building, and we rested it on the top floor fire escape.

If you’re thinking of doing something like this, be sure to use rope, straps, and pulleys rated for the load you are hoisting, OK?
Once the hatch was resting just below the roof, we had to figure out how to get it up over the roof. Not easy, we found out.
It didn’t help that in the middle of this project, one of the beehives decided to swarm!


The last 10′ feet of hoisting involved using a ratcheting come-along (which isn’t recommended for hoisting, FYI) to hold the hatch in place as we lifted up and over the edge of the roof.


After our “The Eagle Has Landed” moment, we took apart the straps to see two of them had already failed. Wow.

In one of those hindsight moments, we should have ran a few straps around the sides of the roof hatch in addition to strapping it around its top and bottom. The sharp corners of the metal flashing that makes the mating edge of the hatch had cut the strapping. Not good.


Once up on the roof, it was butter to install the hatch. Clean up the existing roof curb, lay down some roof tar, and screw it in. Done.
So yeah, next time you need a large object up on a roof, think about making the hatch hole bigger and then patching that. Easier than what we did.

But it was fun. Just not advisable next time.

Comments
One response to “Hoisting 250 Lbs of Steel Up A 4 Story Building, Don’t Try This.”
I thought the ladder was going to smash the window below