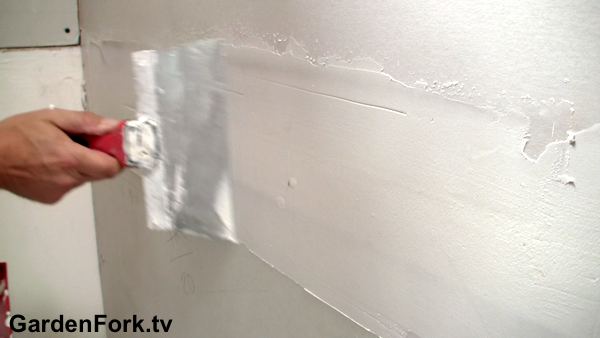
To mud and tape drywall aka sheetrock, you have to practice, but if I can do it, you can do it. I don’t do it perfectly, but I made a video here of how I mud and tape drywall while working on our renovation projects. I also have a video about how to mud and tape drywall corners.
It’s one of those things where having the right tools and the right materials pays off. Your first attempts at mudding and taping will not go perfectly, but keep doing it. You will attain that ‘Ah Ha’ moment.
Tip: Listen to our podcast, GardenFork Radio, while taping drywall.
I like to use lightweight compound, and use a 5 gallon paint mixer paddle to whip it up into a whipped cream – cupcake frosting consistency. Some add water or plaster, I do not. BTW, adding plaster is called a ‘hot mix’ and can cause the compound to crack. The hot mix is used when you want the compound to dry quickly. I let the stuff dry overnight. Position the tray just below the area you are applying the compound to.

When you mud and tape drywall, slow and steady wins the race, OK? Its a lot easier to do it better the first time than to make a mess that will take a long time to fix later. And several thin layers is better than one thick layer. When mudding bevel joints, its ok to use more than a thin layer for the first pass, as you want to fill in the bevel and get the mud into the mesh tape.

Tools I use to mud and tape drywall
Ideally, all these tools are stainless steel, I have a carbon steel blade ( you can see it in the video ) and it rusts despite everything I do to protect it.
6″ knife aka, a spatula
10″ knife
12″ knife
Plastic rectangular mud tray
Tile Sponge, aka small pore sponge
Shop on Amazon for drywall taping knives & tools here.
You can also experiment with what is called ‘setting mix’ compound. This is a dry powder you mix with water, it comes in several drying times. Its more work, but it dries faster, and can fill in deep cracks better. The tub type compound will shrink and crack in large voids.

Its important that the drywall screws are screwed below the surface of the wall, as you see in the video, some of the screws are not, and the blade hits them. Also key is clean compound. You can see in the photo above the streaks you get if you get some junk in your mix.


Comments
4 responses to “How To Mud and Tape Drywall – GF DIY Video”
This video is the very best one on drywall finishing that I have ever seen. Your dogs add acharm to it as well. Thank you for taking time to help.
thanks I’m ready to try this
Great video. It reinforced everything I have learned to do. But I can’t find the link for butt joint and corners. He does it very well, and unlike some videos he is not a pro who simply slaps it on and makes it perfect. He explains things very well.
Very informative video and as a first timer I learned alot in 10mins. I also too could not find link to second video- repairs and butt joints.
hopefully some further instruction can be sent to access other content about plastering via email.
cheers,